5 Steps For Self Tanning This Winter

Step 1: Exfoliate Your Skin!
One of the most important steps in self-tanning is to exfoliate your entire body before you apply the tanner. If you skip this step you can risk having blotchy uneven tan results. Don�t forget your extra dry skin areas like knees and elbows.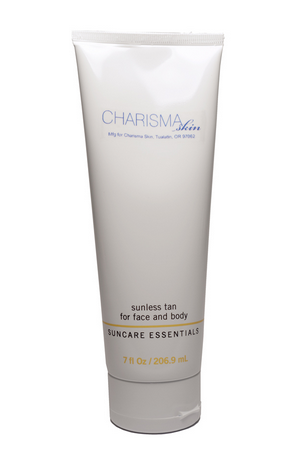
Step 2: Gradually Tan
If you are as pale as I am, make sure you use a gradual self-tanner like the one we have at Charisma Skin. The ingredients in the Charisma Skin Sunless Tan react with your skin�s amino acids to produce a natural-looking tan. Your tone should be at it�s peak after about 5-7 days. Once you reach your peak, you should apply the lotion every other day to maintain your glow.
Step 3: Protect Your Hands - Wear Gloves!
Before you apply the sunless tanner, put on some latex-free gloves. The gloves will help your hands not soak up color meant for your body. If you don�t have gloves, make sure you wash your hands with soap as soon as you are finished applying your Sunless Tan. Don�t forget to put a bit of tanner on the top of each hand so they�re not completely pale.
Step 4: Broad Strokes
When applying the tanner, spread the product with broad uniform swipes in all directions on your body. For the dryer areas like knees and elbows, apply a little body lotion prior to your Sunless Tan. Sometimes these dry areas can absorb more color and be darker than other parts of the body.
Step 5: Streaks? Not To Worry.
If you end up with a few streaks, don�t worry. A jump in the shower should fade them away. If that doesn�t work, taking a bath with about a cup of milk actually helps break down the color with the lactic acid from the milk.